Once again, a project that does not deal with colouring the paper mache, but what to do with it AFTER you're done colouring it. This will be my first "non-natural post", as the subject of the post today is a man made object. Hope you like it.

Things you will need for this project
1) Photo frame
2) 2 pieces of painted paper mache airplane
3) Strong glue
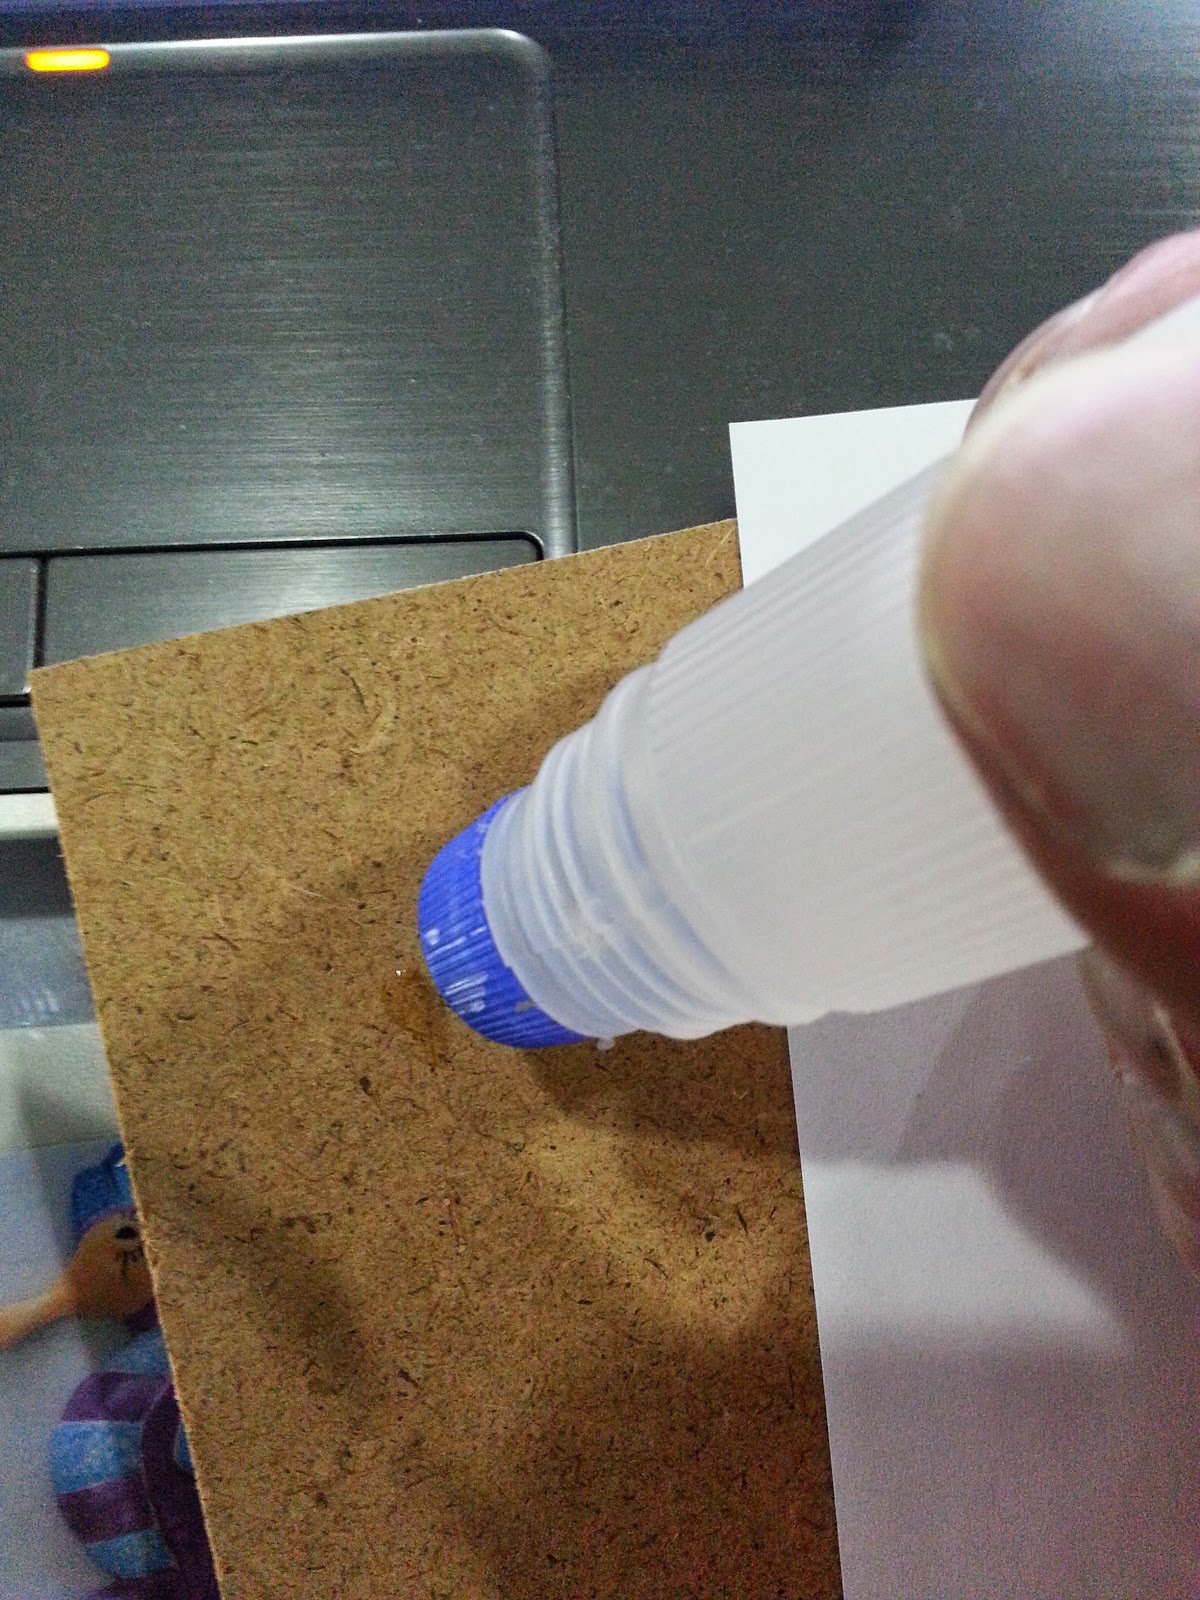
4) Some paint
Remove the cardboard edge protector from the frame. DO NOT throw them away as you will need them later.
Remove the back cover of the frame.
Also, remove the white paper inside the frame. While there will be some painting later, I do not recommend using this paper as it is glossed/laminated and it will be difficult for the paint to stick on it, as well as taking a long time to dry.
BE VERY CAREFUL when removing the glass. I should have bought the glassless variety, but since it was already bought, I decided to use it. Store the glass in a safe place away from small children. It can be used for future projects.
Glue a piece of paper to the front of the board. You can use recycled paper as it will be painted over anyway.
Paint the entire piece blue. There is no need for you to paint it as perfect as possible. I personally painted it in pastel form to make it more childish/cute.
Add in clouds.
Next comes the sticky part. Use 2 cardboard edges that you removed just now. Stick them together, one inside the other to make a "table" shape.
It should look something like this.
Using the same glue, stick one paper mache airplane to the painted sky. Make sure its well stuck.
Flip the other plane upside down. Glue the "legs" of the table to the underbelly of the plane. Remember to glue both legs. One will not hold the weight.
Glue the table top to the painted surface. Your second plane should now be flying above your first.
carefully slide your finished work into the frame. Take care to not knock of the planes of tear the paper.
There you have it! Freedom in flight! The second plane is meant to stick out of the frame, giving it an amazing 3D effect.


No comments:
Post a Comment